My wife went out of town for a week and I got the bright idea to refinish our second story floors. This was a bad idea. In my mind, I would just rent the appropriate sanders, get all of that old finish off, stain, finish, and be done before she got back. Not a chance. I fully admit that I underestimated this project and paid for it physically! But enough complaining, here’s how I did it.
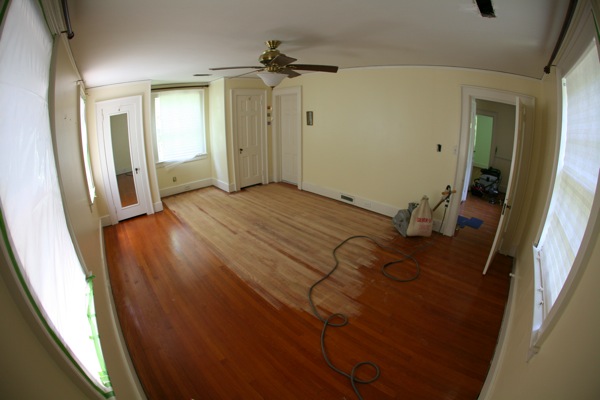
Step 1: Move everything out
This was my first mistake, since one can never accurately estimate how much crap one accumulates. It took about six hours of heavy lifting and several calls for help to the neighbors to get everything out from the upstairs and into the first floor. This included a master bedroom, a guest room, and sewing room with an apparently infinite capacity.
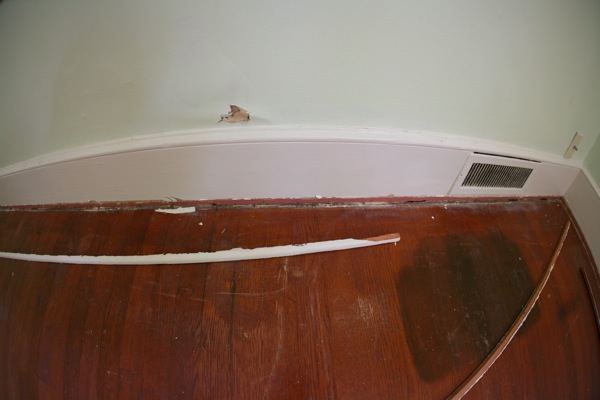
Step 2: Remove the shoe molding
OK, easy enough. Couple of pry bars and about an hour to pop it all off. Don’t even bother trying to save it. Not worth the time, unless you have something particularly ornate. This photo also highlights some of the issues I have with this flooring – it’s already been refinished once before with a really deep red color. There are scratches and swirls everywhere and it looks like most of the edging was done with an angle grinder. You can also see a huge pet stain which, in the end, I couldn’t get out without replacing the flooring.
Step 3: Start sanding
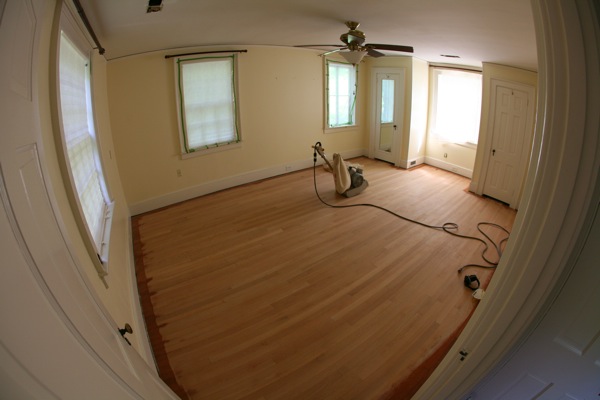
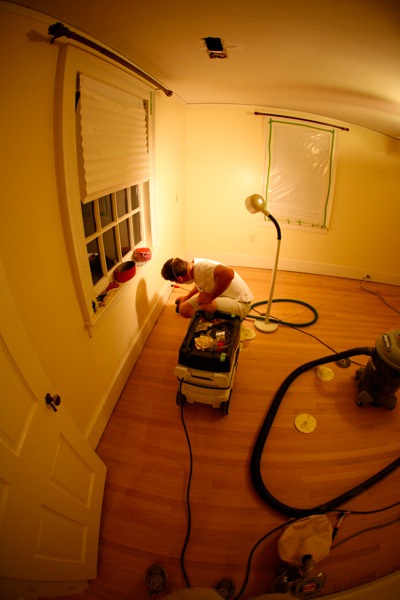
My original plan was to rent the U-Sand or similar orbital sander from Lowe’s or Home depot. After doing a bit of reading, I noticed a trend of people complaining how long it took. The other option, a drum sander, was always labeled as “too risky” or “too easy to screw up” for the DIY’er. I watched a few videos on drum sanding and decided I would give it a try. I went to a local equipment rental and got a Silverline drum sander and edger. I’m glad I did, because even this was time consuming and physically exhausting. I started in the master bedroom, and was quickly surprised as I feathered the sander down for the first pass. This thing had LOTS of power! It nearly pulled me clear across the room. I quickly learned to control its pace and started the usual procedure of sanding forward, then backward using 36 grit paper and feathering at the start and end of every pass. Go to the Silverline website and you can find some great instructions on using the equipment: http://www.essex-silver-line.com/esl_tips.pdf In this photo, you can see my first couple passes. This finish was tough and deep! No magic here, just lots of work. In subsequent rooms, I started the first pass at a 45 degree angle, and then finished with the grain of the wood.
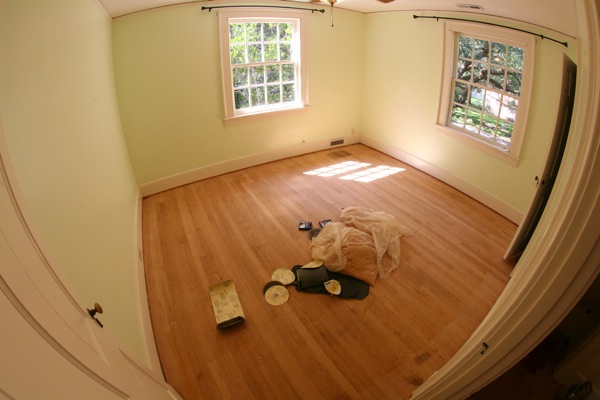
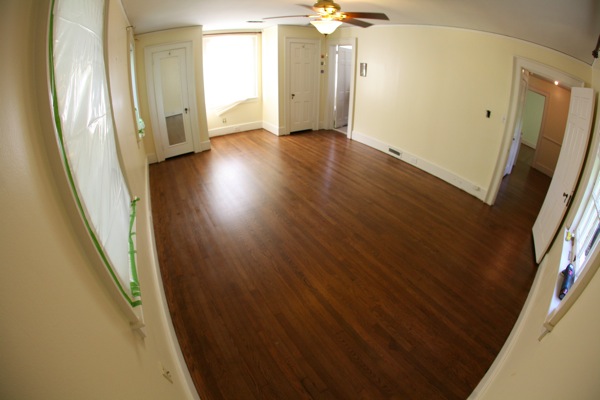
Here is the finished field of the master bedroom:
This left me with my next problem….. the edges.
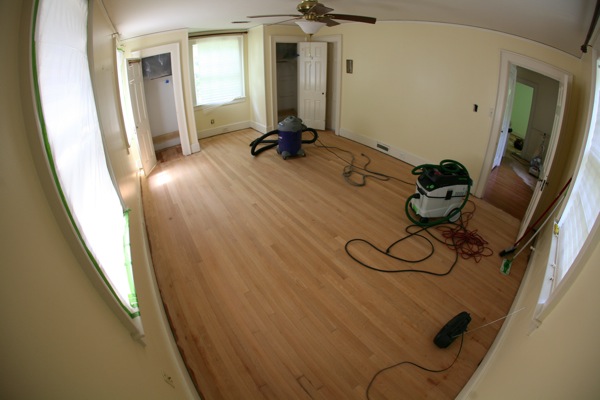
Step 4: Edging
You NEED an edger to do this, and it takes some skill to use. I rented the Silverline SL-7 and started with the 36 grit disc. In hindsight, I would say that the edger is much more aggressive than you would figure, and I would have started with a 60 grit first just to see. In any case, this tool just blasts through wood. The only problem is when you are working the ends of the room against the grain of the flooring. People say that you can rotate the edger clockwise to encourage the cutting wedge to be more with the grain, but it still bits and leaves lots of swirls. More on that later. Here is the master after edging.
Step 5: The other rooms
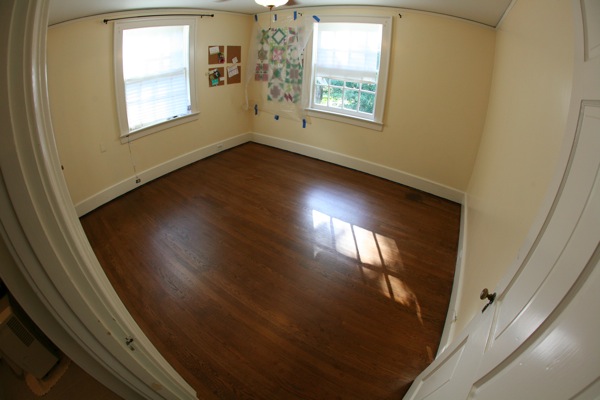
I proceeded from here into the guest bedroom and sewing room, soon to be nursery. Same procedure, but also did passes with 60 grit and then 100 grit.
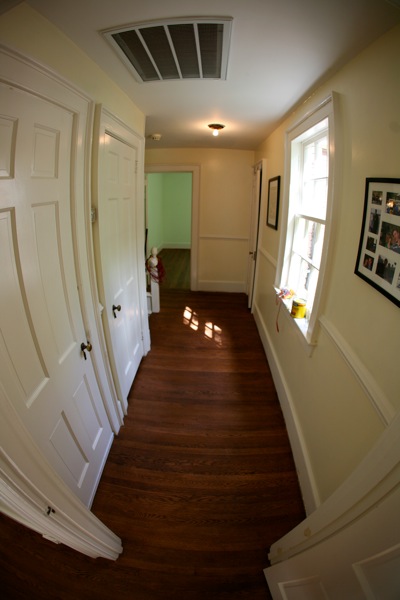
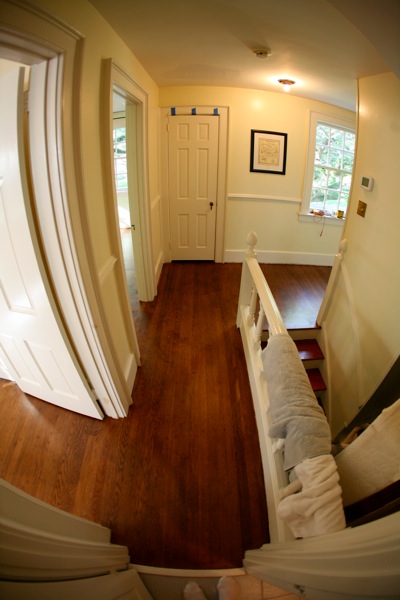
Now I was faced with a problem – there are rooms and areas you just can’t get into. For example, this hallway has flooring that runs the short way, so there is no room to get any of the sanding tools in there. Same problem with the closets.
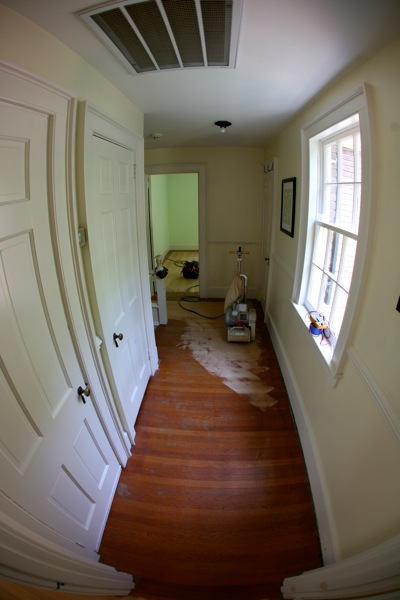
I opted to use my belt sander running the same grit sequence as the rest of the floors. I’m sure the flooring gods are cringing at that, but I had no other option. No rentals around had a smaller sander the would actually flatten the floor. So I carefully and slowly worked with the belt sander and edger until I had the results I liked:
Step 6: The corners
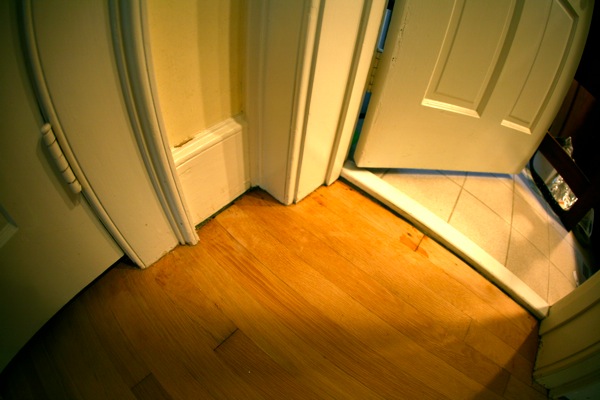
There are simply no power tools that can get you into the square corners and tight around trim elements like door casings. There are plenty of online tutorial that say “just use a floor scraper” and even some videos on you tube showing how easy it is. Well, it isn’t! What I discovered accidentally is that my 1″ chisel works really well if you keep it sharp as hell and just maneuver it like a bull nose plane. Can can literally just “peel” the top layer of finish off going with the grain. It takes some skill, but after a few tries I could crank through even the most intricate trim areas in just a few minutes. I would then come back with my Bosch multimaster (corded version only) to give it a final sanding. (On that note, I tried using the battery powered version. It does nothing for sanding. My father in law recommended trying the corded 2.5amp model, and what a difference!) The key to this method is having sharp chisels. I was in the garage every hour or so sharpening my chisels using the Lee Valley sharpening system with Japanese water stones. This is a great thing to have! Here you can see the trim details I had to work around…
Step 7: Detail sanding
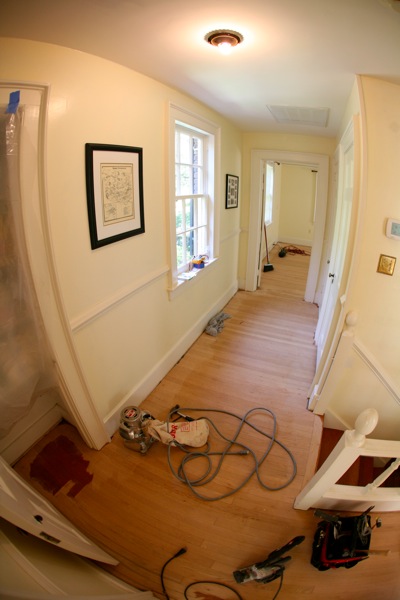
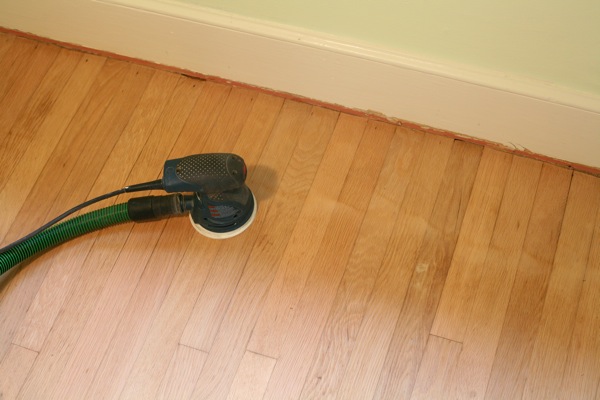
At this point, thing started to feel a bit hopeless. I’d been working on this project for about 30 hours and the road ahead looked unfriendly at best. I pressed on with the help of my brother to attack the detail sanding. Basically, everywhere that the edger meets the field against the grain, you are going to get swirls. So we came through in multiple passes working from 60 up to 120 grit with an orbital sander to blend the edges as best we could. This is a lot of hands and knees work, and you need to really scrutinize the swirl marks. ANYTHING you leave will show up later.
Here is a neat shot where you can see the swirls on the right that we are sanding out. No swirls on the left.
Step 8: Prep the floors and stain
Not much to this. Get a good collection of tack clothes (the sticky yellow ones), maybe 2 to 3 per room. Vacuum everything and tack it all in one direction. Look out for any last imperfections since this is your last chance to fix them. Normally, one would screen the floor at this point. If I had the time and money, I probably would have done it. But another rental at $50 a day when you have no idea how long it will take wasn’t on my menu for the week. Once everything is perfect, start staining. A few points here: I wanted to avoid Minwax stains after all of the bad things I’ve heard. I actually got some Cabot stain, and even some Bona DriFast. Unfortunately, my wife and I decided at the last minute that we didn’t like the colors and since it was a Saturday, the only option was Lowe’s and therefore…… Minwax. We chose a stain called “Provincial” which I was going to blend with some Gunstock. I actually ended up just using the factory color and like it quite a bit. I applied the stain using a lambswool pad and some rags. This would definitely be easier with two people…… but, so would most things. I applied in small sections, wiped down, and carried on. What I didn’t account for was the smell! Wow, my house was enveloped in the most odiferous nauseating cloud I’ve ever come across. What’s worse is that my wife (who is pregnant) and animals were all forced to evacuate the neighborhood. I knew that we wouldn’t be able to stay in the house while the stain dried, but I certainly didn’t anticipate this. I was wearing a respirator and so just continued through the job without even knowing of their exile. The Minwax stain applied nicely and more or less evenly. I probably could have taken more time to blend it. The only downside was the dry time. The manufacturer claims 8 hours. I had to wait at least 36 before I could walk on it without brown socks and a tacky feel. Here are the stained floors:
Step 9: Finish the floor
Having heard horror stories of people being stranded outside of their homes for several weeks while the polyurethane VOC monster’s inhabited it, I did some research about water based finishes. Everything I read was negative, but mostly related to the big box finishes that you just apply and air dry. There is an entire family of water based finishes that are two part, one of which is a hardener. The beauty is that these finishes dry really quickly with very little odor. The problem is that these finishes dry really quickly! I opted to use a new finish made by Bona called “Traffic HD”. This is their top of the line product that is green certified for use in schools. It has no noxious odors and is claimed to be more durable than traditional polyurethane. I found a local distribute and got my hands on it to the tune of $130 per gallon. This is the other disadvantage; it is really expensive.
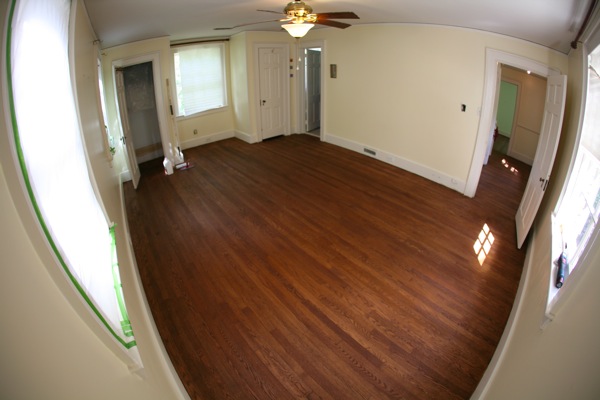
The Bona goes on with a roller and once you add the hardener, you only have a few hours to finish the whole job. I watch some of their training videos and started at it at 10am. I completed two coats by 4pm and was able to walk on the floor in socks by 6pm. This is a fairly forgiving finish as long as you apply enough. That’s right….. apply enough! It goes on thick and self levels without any bubbles. Just feather the roller into and out of your passes. Disclaimer: when I started applying, I had some moments of panic when I saw all the streaks and “white lines”. After maybe 20 minutes, it all just went away. In between coats, I did a quick sand with 220 paper on a drywall pole and then vacuumed and tacked again. I used a Satin finish and am quite happy with the results:
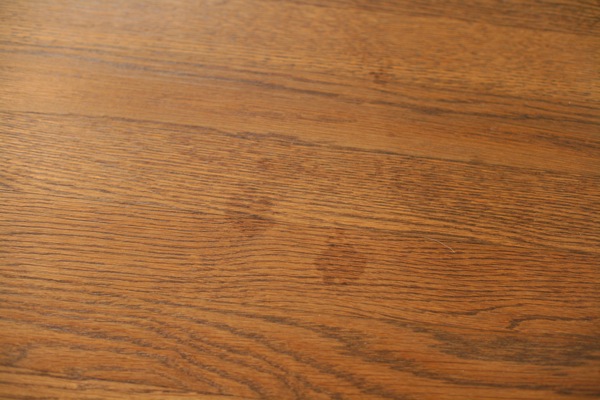
And one final note: Keep your animals out! Our cats managed to get into the sanded floors at some point. When I stained, no problem. After the first coat of finish, no problem. After the second coat, you can see faint cat prints everywhere! Oh well, I’ll chalk that up to character. Here is the worst of them:
Conclusion:
This was a great project, but MUCH more involved that I anticipated. In total, it took me about 60 hours to do about 800 square feet. I certainly saved some money, my total cost coming in at around $1k. Keep in mind that $600 of this was Bona Traffic. If you’re going to attempt this, plan ahead to evacuate the house for a while, rent the right tools, and enjoy!